
The 3 Shots Every Product Needs (And Most Brands Skip at Least One)
Your product imagery is your digital storefront. When someone lands on your website or sees your ad, they decide in a few seconds whether you’re worth a click. If your photos don’t make your product look as good as it actually is, they’ll move on to the competitor who invested.
As a Brisbane product photographer working with food, drink, jewellery, beauty, kids’ and lifestyle brands, we see the same pattern again and again: a brand invests in one style of image, usually a clean product shot in studio, and then stretches it across the website, social media and ads. It’s a start, but it only tells one part of your story.
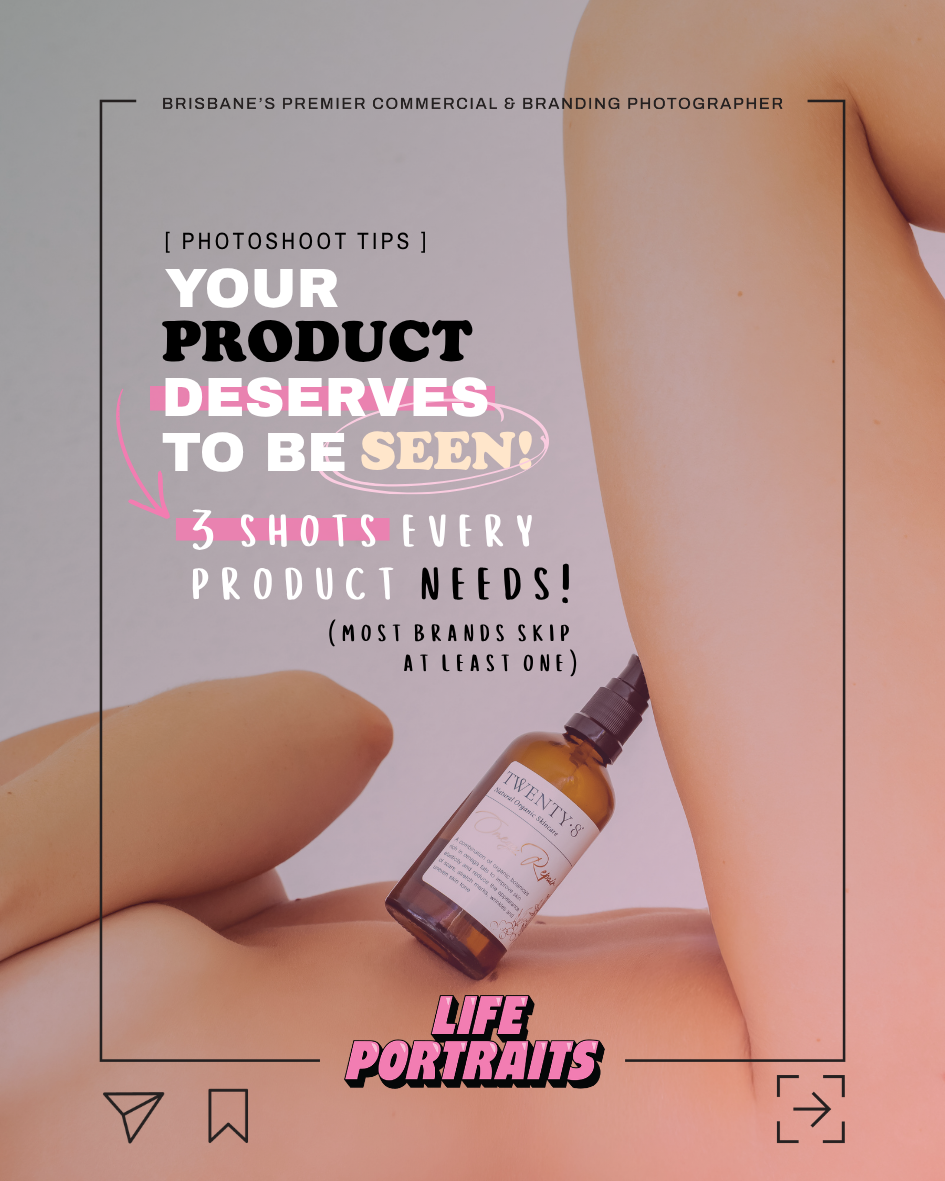
Strong product photography needs three shots working together: the flat lay, the close-up and the “in use” shot. Here’s what each one does, and why skipping any of them quietly costs you sales.
Shot #1: The Flat Lay — Your Scroll-Stopper
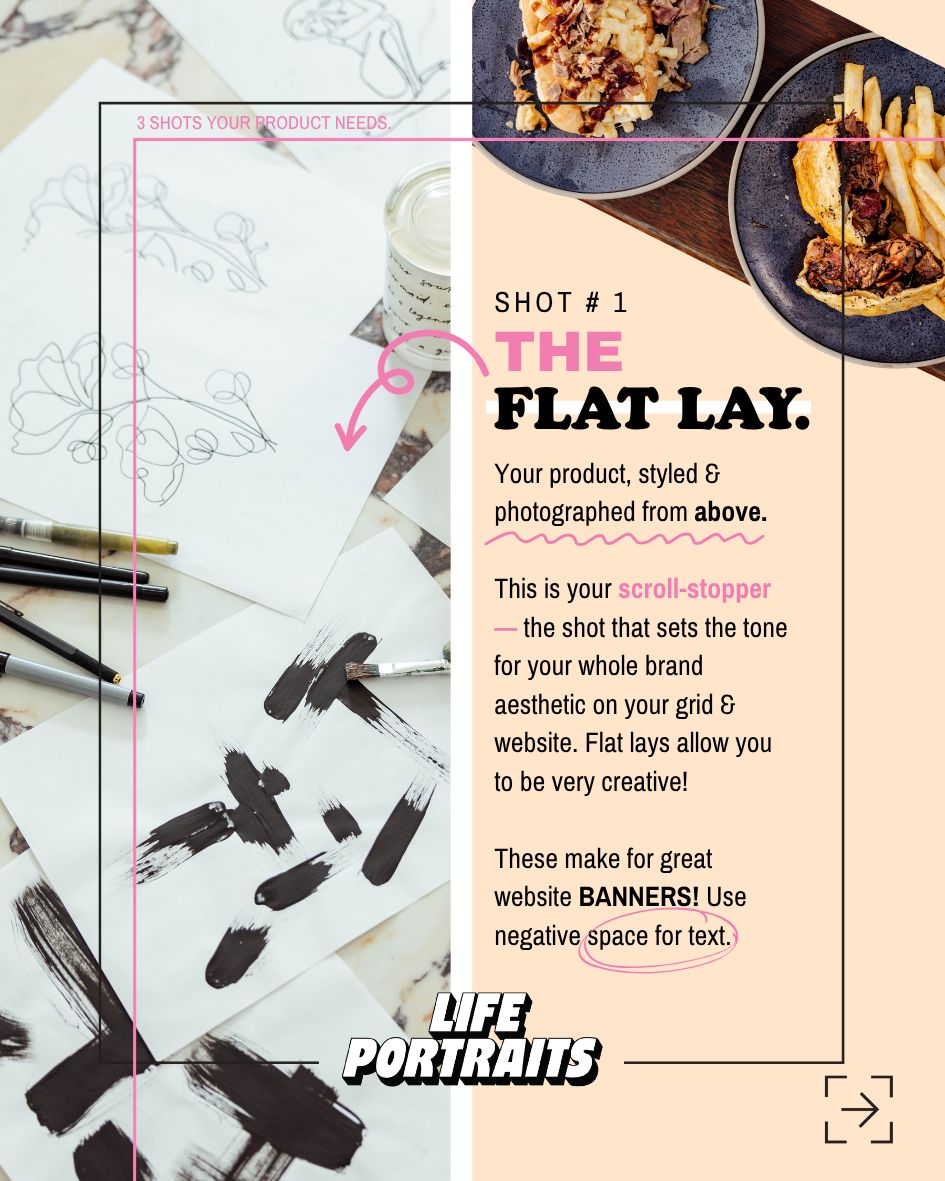
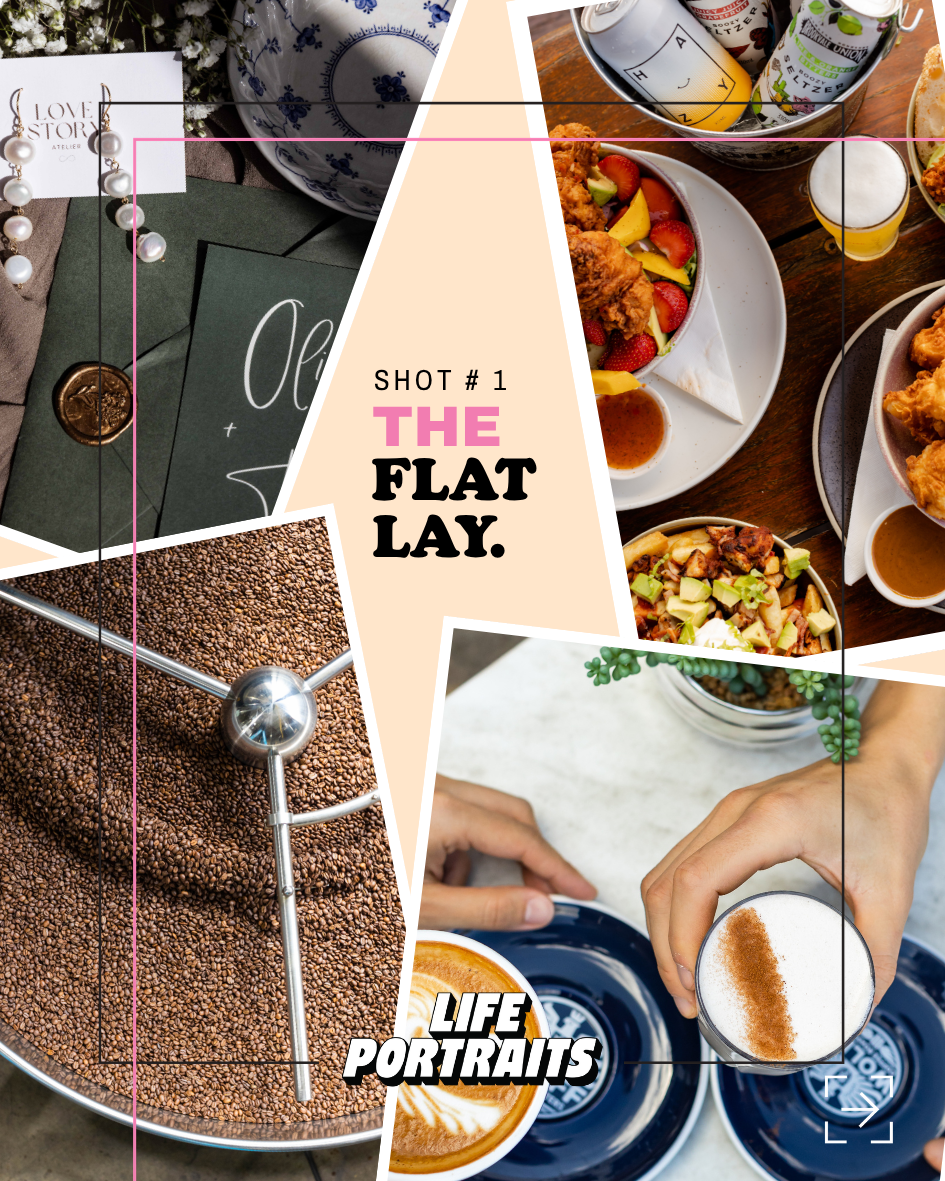
A flat lay is your product styled and photographed from directly above. It’s the shot that sets the tone for your whole brand aesthetic, on your Instagram grid and on your website, and it gives you the most room to be creative with colour, props, texture and composition.
Where it works hardest: website banners and hero images. A good flat lay leaves deliberate negative space, so you can drop in a headline, an offer or a button without covering the product.
Flat lay tips
Style the story, not just the product. Props should reflect who your customer is and how the product fits into their life.
Plan for negative space. Decide where text will sit before you shoot, not after.
Keep a consistent colour palette and surface across shoots so your grid and website feel like one brand.
Shoot a version with and without props so you have a clean option for listings and a styled option for campaigns.
Shot #2: The Close-Up — Your Trust-Builder
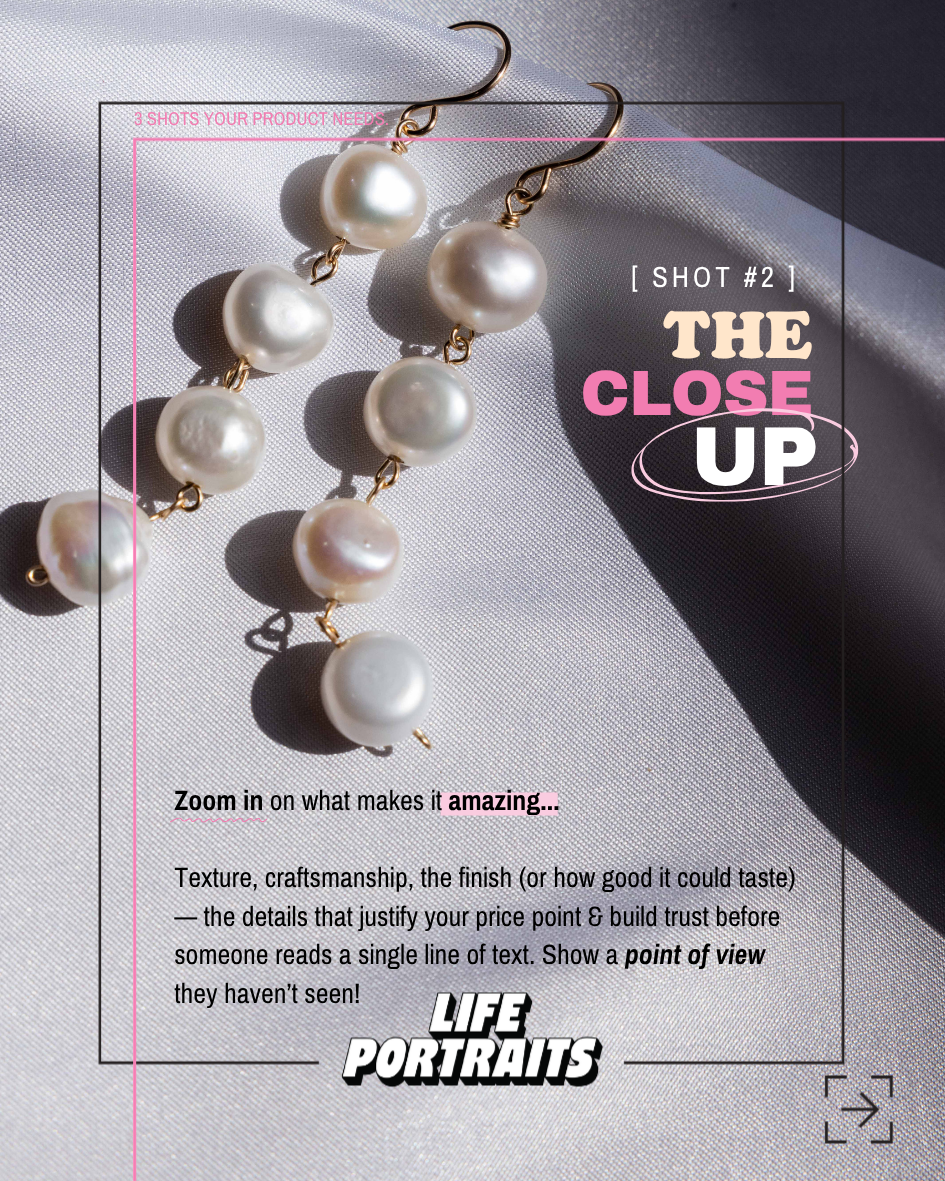
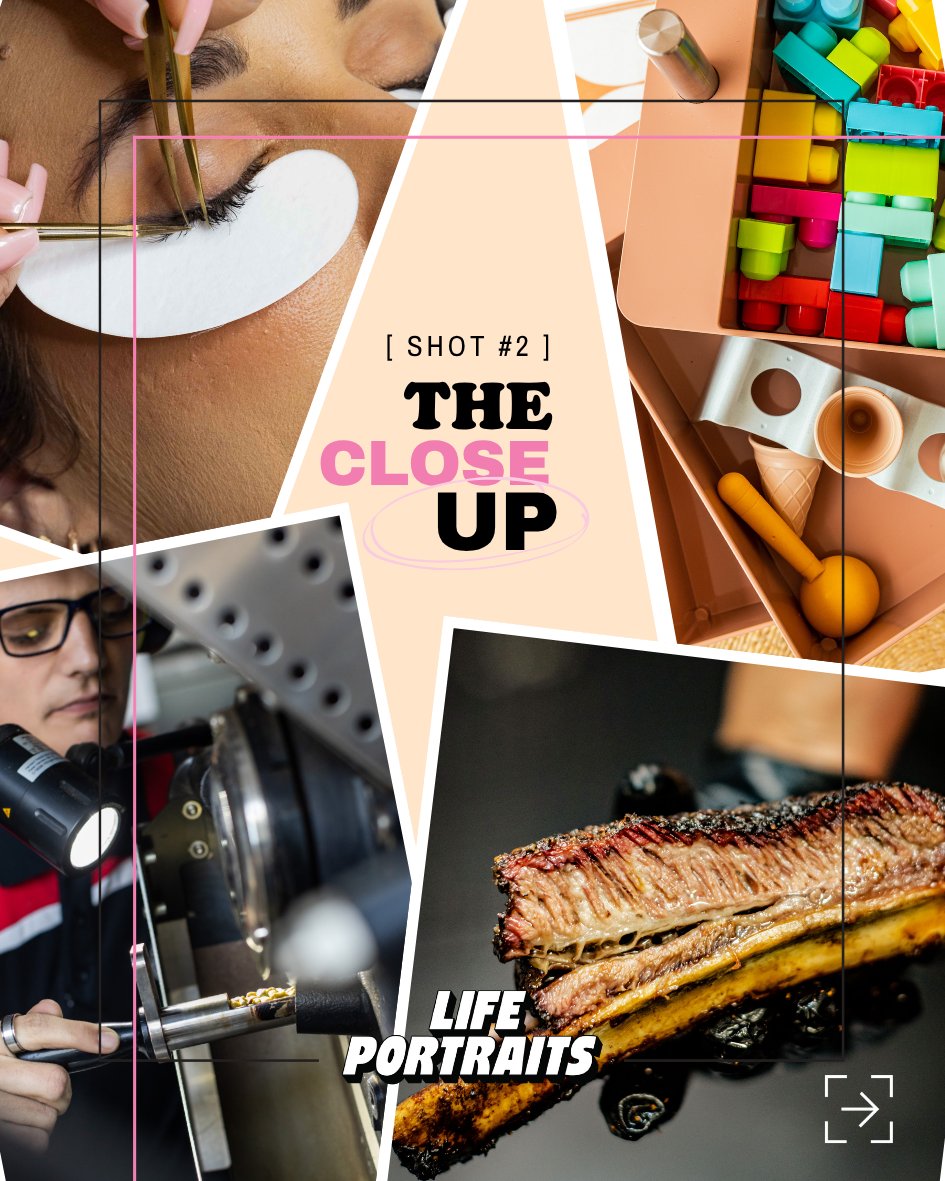
The close-up zooms in on what makes your product amazing: the texture, the craftsmanship, the finish, or in the case of food, how good it could taste. These are the details that justify your price point and build trust before someone reads a single line of copy.
A great close-up also shows a point of view your customer hasn’t seen. Think pearls catching the light on satin, the char on a slow-cooked rib, the stitching on a handmade piece. If someone can see the quality, they don’t need to be told about it.
Close-up tips
Use directional light to bring out texture, rather than flat, even lighting.
Show the details you’re proudest of: materials, finishes, labels, ingredients, construction.
Look for an angle that surprises. The closer you get, the more important it is to be intentional about what is in focus.
Shot #3: The ‘In Use’ Shot — Your Converter
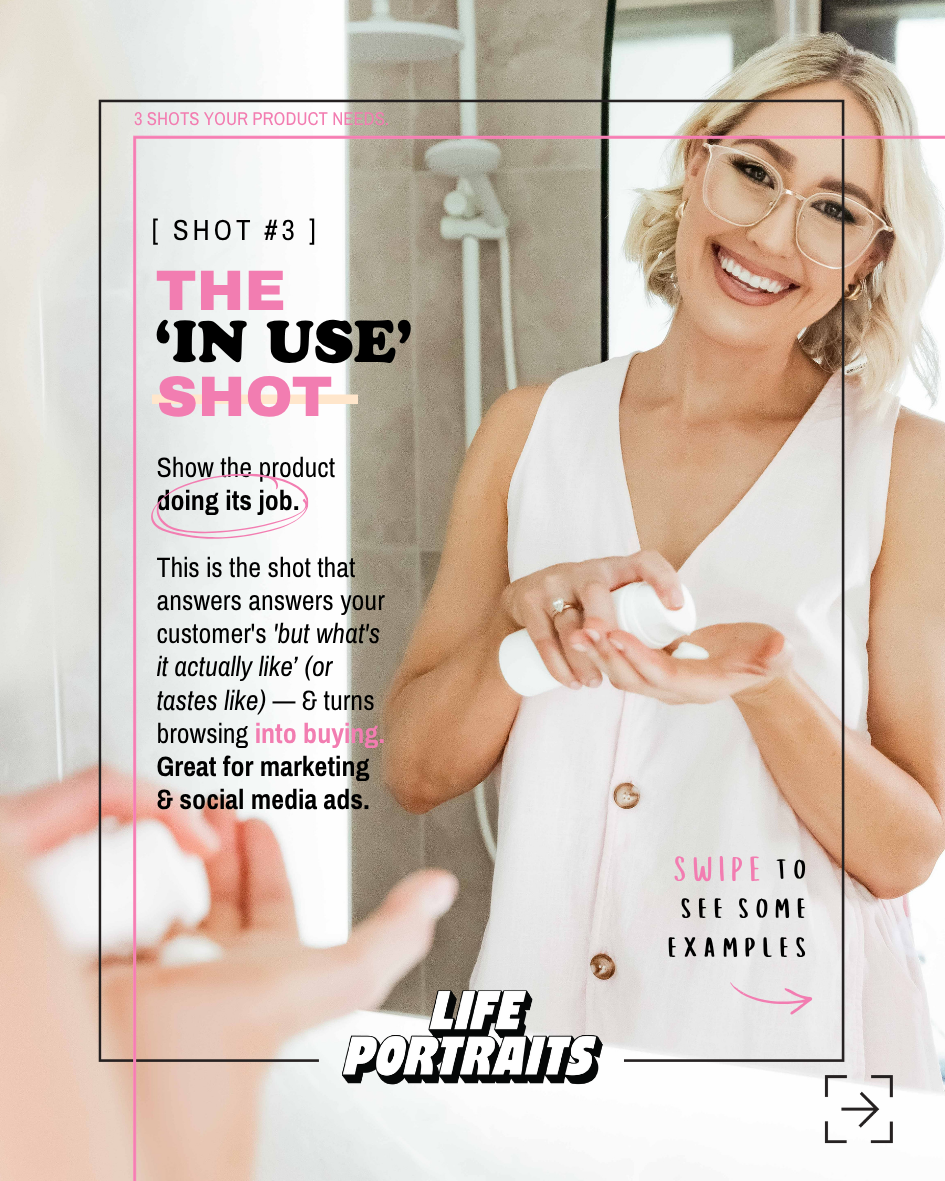
The in-use shot shows your product doing its job. It answers the question every online shopper has but can’t ask: “But what’s it actually like?” (or tastes like). It’s the shot that turns browsing into buying.
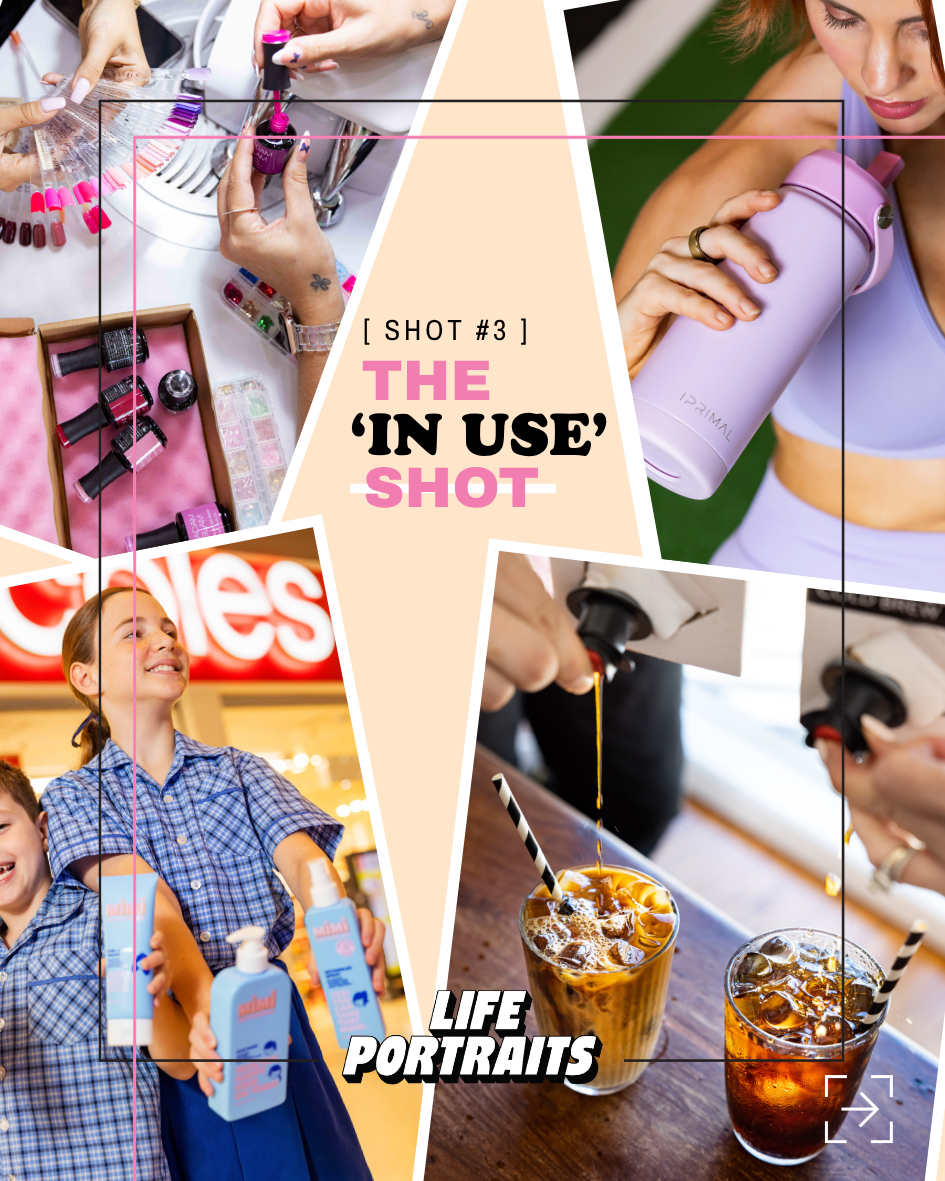
Hands pouring a cold brew, someone applying a skincare product at the bathroom mirror, an athlete reaching for their drink bottle mid-session, kids holding the products they use every day. Seeing a product in real life gives your audience context, scale and desire, which is why this shot is so effective in marketing and on social media ads.
In-use tips
Show real, believable moments rather than stiff, posed product holds.
Pick a setting and talent that look like your ideal customer.
Capture movement and interaction: pouring, applying, opening, wearing. Action makes the image feel alive.
Why You Need All Three
Each shot has a different job in your marketing:
The flat lay stops the scroll and carries your brand aesthetic across your website and grid.
The close-up builds trust and justifies your price on product pages and in detail sections.
The in-use shot converts, performing hardest in ads, email and social content.
Most brands stop at one. The ones who invest in all three give customers a reason to stop, a reason to trust, and a reason to buy. And when they’re planned properly, you can capture all three in a single shoot.
How to Plan a Product Shoot That Delivers All Three
The secret isn’t more shooting time, it’s more planning time. Before the shoot, map out where each image will be used (website banner, product page, ads, social grid, email), then build a shot list for each product around the three shots. That way, one day behind the camera becomes a library of content you can use for months.
Product Photography FAQs
What’s the difference between e-commerce and lifestyle product photography?
E-commerce photography shows your product clearly and consistently, usually on a clean background in studio, so shoppers can see exactly what they’re buying. Lifestyle photography places your product in a styled, real-world setting to build desire and tell a story. Most brands need both.
Do I need models for my product shoot?
Not always. Flat lays and close-ups are often product-only, while in-use shots usually include hands or talent to show the product in action. We’ll plan this with you based on your product and your audience.
Can I get all three shots in one shoot?
Yes. With a shot list planned in advance, we capture the flat lay, close-up and in-use images for your products in the same session. These are mostly a 1-2 hour shoot or half day 4 hour shoot.
Ready to Show Your Product at Its Best?
If you’re a Brisbane product brand, e-commerce store or small business whose imagery isn’t doing your product justice, let’s fix that. We create high-end, styled product and e-commerce photography that makes your audience stop, click and buy, from crisp website listings to dynamic lifestyle campaigns.
See our commercial and branding website information HERE or enquire about us creating something unique for your brand